[ad_1]
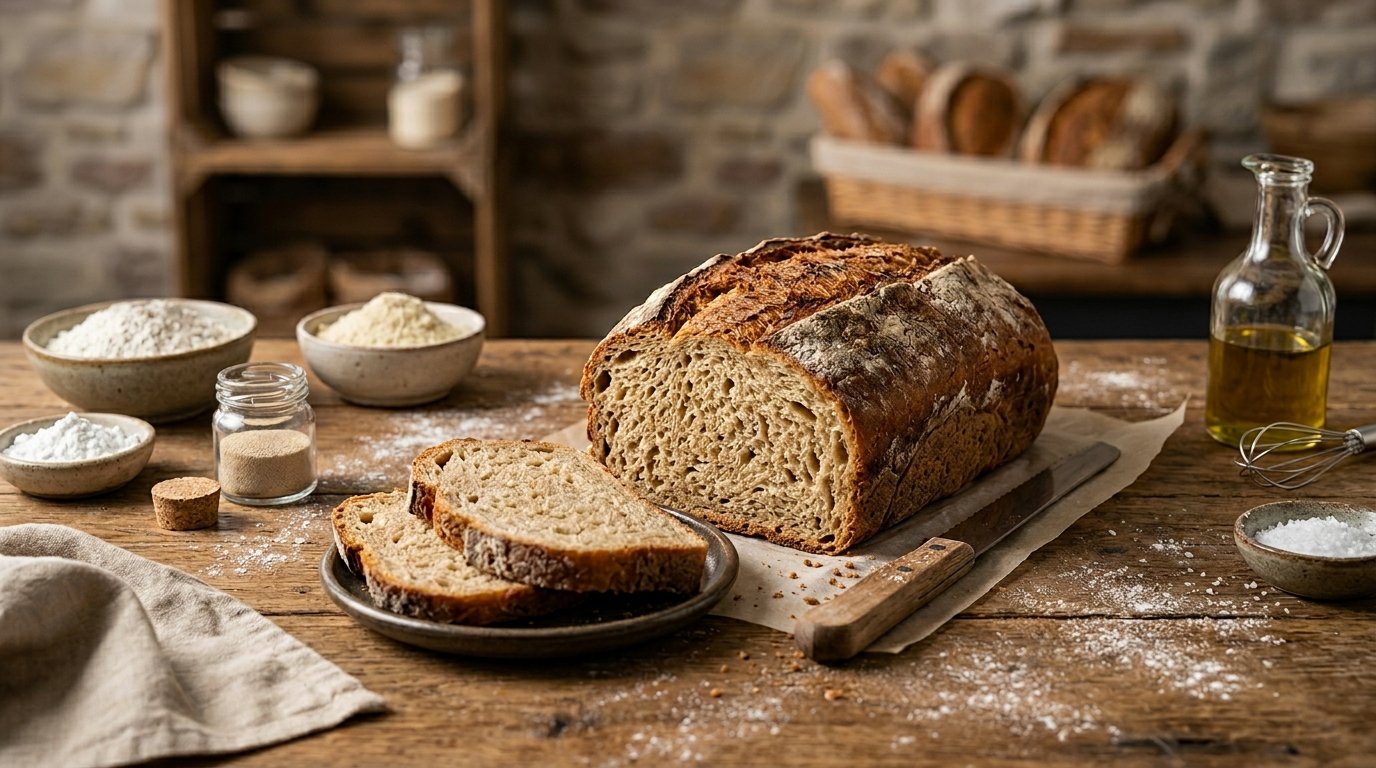
Welcome to your guide for making delicious gluten-free bread at home. With the right techniques and ingredients, you can achieve that soft, fresh-baked bread you’ve always dreamed of, without gluten. Let’s transform your baking with this easy homemade bread recipe!
Why You’ll Love This Bread
This gluten-free bread is perfect for anyone looking for a soft bread recipe that doesn’t compromise on flavor or texture. It’s easy to make, requires minimal ingredients, and results in a comforting loaf that can be used for sandwiches, toast, or simply enjoyed on its own. Plus, the fresh baked bread aroma will fill your kitchen!
Ingredients
For this gluten-free bread, you’ll need the following ingredients:
- 2 cups gluten-free all-purpose flour
- 1/4 cup tapioca starch
- 1/4 cup almond flour
- 2 teaspoons baking powder
- 1 teaspoon salt
- 1 tablespoon sugar or honey
- 1 cup warm water (110°F)
- 1/4 cup vegetable oil
- 1 tablespoon apple cider vinegar
- 1 teaspoon active dry yeast
Step-by-Step Instructions
- In a small bowl, combine warm water and sugar. Sprinkle yeast on top and let it sit for 5-10 minutes until foamy.
- In a large mixing bowl, whisk together gluten-free all-purpose flour, tapioca starch, almond flour, baking powder, and salt.
- Add the foamy yeast mixture, vegetable oil, and apple cider vinegar to the dry ingredients. Mix until well combined.
- The dough will be thicker than traditional bread dough. Transfer it into a greased loaf pan and smooth the top with a spatula.
- Cover the loaf pan with a clean kitchen towel and let it rise in a warm spot for 30-40 minutes.
- Preheat your oven to 375°F (190°C). Once the dough has risen, bake for 30-35 minutes, or until the bread is golden and sounds hollow when tapped.
- Remove from the oven and let it cool in the pan for 10 minutes before transferring it to a wire rack to cool completely.
Pro Tips & Common Mistakes
- Always measure your flour accurately; too much can lead to a dry loaf.
- Ensure your yeast is fresh for optimal rise.
- If the dough seems too dry, add a tablespoon of water at a time until you reach the right consistency.
- Allow your bread to cool completely before slicing to prevent it from becoming gummy.
Variations
Get creative with your gluten-free bread! Here are some variations to try:
- Herb & Garlic Bread: Add dried herbs and garlic powder for an aromatic twist.
- Cheesy Bread: Mix in shredded cheese before baking for a cheesy delight.
- Seeds & Nuts: Incorporate sunflower seeds, pumpkin seeds, or chopped nuts for added texture.
Serving Suggestions
This gluten-free bread is versatile and can be enjoyed in various ways:
- As a sandwich base with your favorite fillings.
- Toasted with butter or jam for breakfast.
- As dinner rolls served with soups and salads.
Storage & Freezing
Store your homemade gluten-free bread in an airtight container at room temperature for up to three days. For longer storage, slice the bread and freeze it in a zip-top bag for up to three months. Thaw slices as needed for fresh tasting bread.
Nutrition Information
Per slice (makes about 12 slices): Approximately 120 calories, 5g fat, 15g carbs, and 3g protein. Nutritional values may vary based on specific brands of ingredients used.
FAQ Section
Can I substitute the gluten-free flour?
Yes, but be sure the new flour blend contains a mix of starch and whole grains for the best results.
Why did my bread not rise?
Check that your yeast is fresh and that your warm water is not too hot or too cold.
Can I make this bread without yeast?
Yes! You can experiment with baking soda and vinegar as a leavening agent.
Conclusion
Now you have a fantastic recipe for easy homemade gluten-free bread that you can customize to suit your taste. Enjoy fresh baked bread that’s perfect for a variety of occasions. With just a few ingredients and simple steps, you can create bakery-style bread right in your kitchen!
[ad_2]